PrintPixel
A shopping cart for custom products
- created: 12/27/2014
- latest update: 12/27/2014
- by: ExpressPixel
- http://expresspixel.com/
- email: support@expresspixel.com
A responsive, user friendly, all-in-one shopping cart for designing, printing and selling custom T-shirts or other products
Prerequisites
Server requirements
- Apache 1.13.19 or above
- PHP 5.4+
- ImageMagick >= 6.2.4 with imagick php module
- The mod_rewrite Apache module
Pre-installation
You'll need to make sure you have the following:
- Access to your web server (FTP/SSH/SFTP)
- A text editor
- A web browser
- A stripe account
Quick installation
Step 1. Unzip the downloaded file to a folder on your hard drive
Step 2. Upload the contents of the "/upload" directory to your web server
Step 3. Make sure the following folders are writable (chmod 755)
/storage
/data/database/
Step 4. You can now access it by going to the web address of the folder you uploaded to.
Step 5. The admin can be found in the /admin directory. The default password is :
Username: admin
Password: changeme
We recommend that you change the password.
Step 6. In the admin, click on settings. Enter your stripe "secret key" and "publishable key"
Step 7. (optional) If you are uploading in a sub-directory, you need to open the "config.php" file and change the BASE_URL to your directory name.
e.g.
If you want to use http://example.com/tshirt, then the config.php line needs to look like
define("BASE_URL", "/tshirt");
You now can start using the system and adding your products.
Setting up your categories
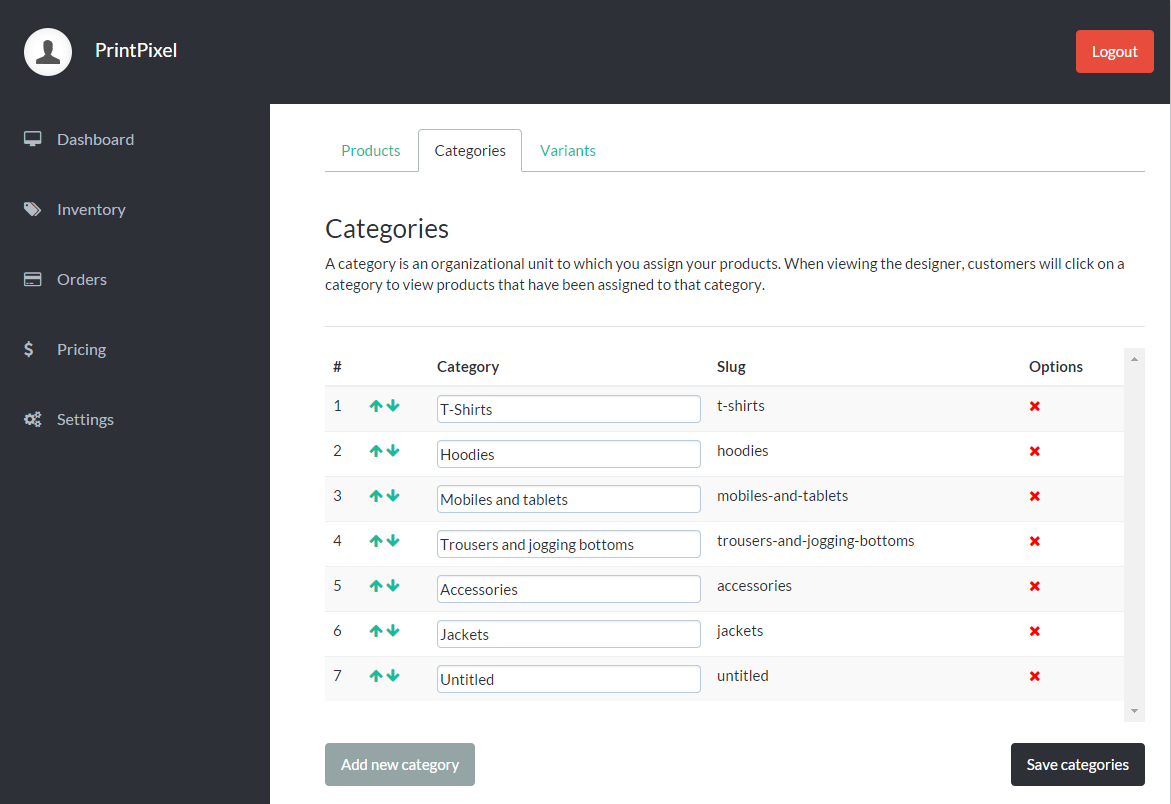
You’ll need to set-up categories for your products. Click on the “Inventory” menu then “Categories”. Enter the names for your categories and use the arrows to move it up and down. It will be displayed in the same order in the designer.
- Click on the “Inventory” menu to start.
- Click on the “Categories” tab
- Click on "Add new category" at the bottom to start
- You can now edit the newly added category
- Don't forget to click on "Save categories" when completed
Setting up your products
- Click on the “Inventory” menu to start.
- Click on “Add new product” and enter your product details.
- On the next page you can enter your pricing information, variants, editable orientations and more.
Setting up variants
- Click on the “Add new variant type” to add a new variant based on colors
- If you’ve already set-up a variant you need to click on “Add new variant” and select it from the newly added dropdown list
- If you need more orientations you’ll need to Click on “Add new orientation” on the box above
- Click on select image for each orientation and upload your image. Note: your image must be 500x500px
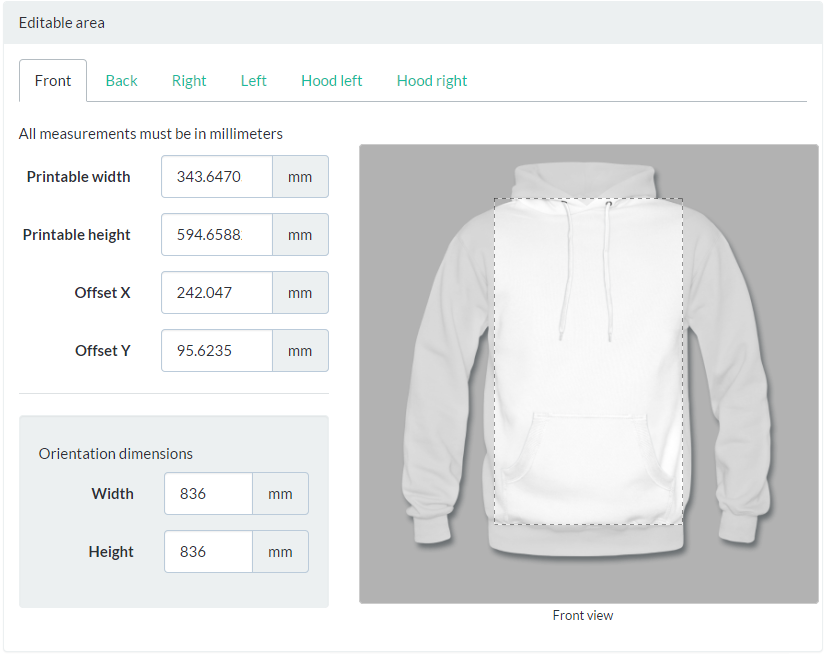
Setting up areas
- You will have to set up an area that the user can design in for each product
- Scroll down to the “Editable area” section
- Enter the printable width and height in mm. This is the size of the area your users will be able to design in
- Also, enter the offset X and offset Y in mm. These values position your editable area size on your product
- Lastly you need to enter the orientation dimensions, again in mm. This equates to the width and height of the 500x500px in relation to your actual product size
- You’ll need to do this for each product
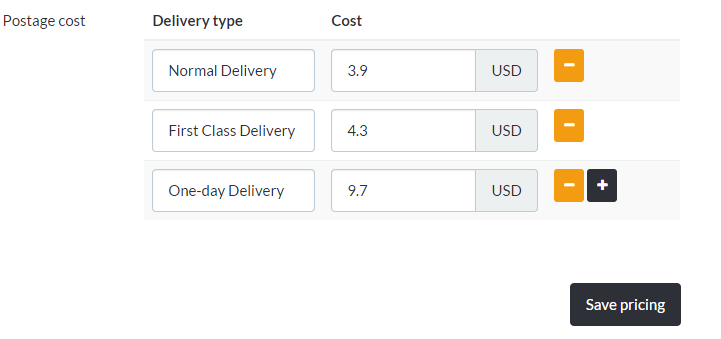
Setting up your pricing
-
Click on the “Pricing” menu to start.
-
Set your postage costs
-
Enter the cost per color for each side
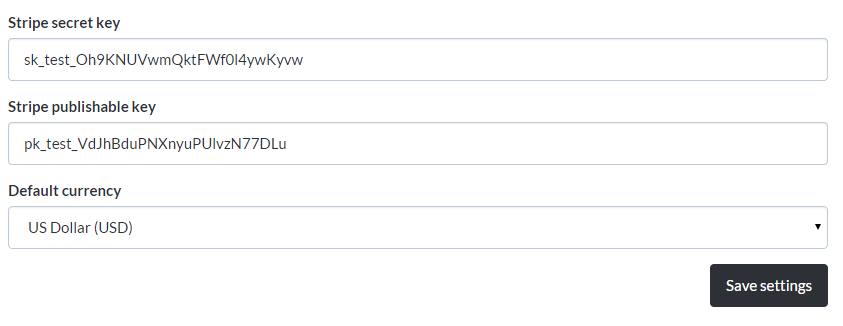
Setting up payments (Stripe)
Login to your admin control panel and click on “Settings” in the menu.
-
Stripe secret key
Now unzip the downloaded file to a folder on your hard drive -
Stripe publishable key
You can upload your files to your web server using an FTP client. You’ll need to decide whether you want to install it in the root directory or in a sub-directory. -
Default currency
We’ve set this to USD by default. Select the one you want to use and make sure stripe supports it. -
You’re ready to start accepting payments..
-
You can test payments using
Taken from : https://stripe.com/docs/testing.Number Card type 4242424242424242Visa 4012888888881881Visa 4000056655665556Visa (debit) 5555555555554444MasterCard 5200828282828210MasterCard (debit) 5105105105105100MasterCard (prepaid) 378282246310005American Express 371449635398431American Express 6011111111111117Discover 6011000990139424Discover 30569309025904Diners Club 38520000023237Diners Club 3530111333300000JCB 3566002020360505JCB
* Note – if you don’t want to use stripe, please refer to the “Developers section”.
Managing and printing orders
All your orders are visible in your “Dashboard”. Click on the “Orders” item in the menu to view your orders.
-
Selecting an order
Orders are sorted by the date it was ordered. Click on “View” to view the order details. -
Printing images
Click on download images to view what your customers had designed. This image can be printed. -
Quantities and pricing
Make sure you check the sizes ordered and their respective quantities. -
When you’ve printed and dispatched the order – select the “Yes” option and click on save. This will mark the item as dispatched.
Adding clip-art and fonts
Adding clip-art
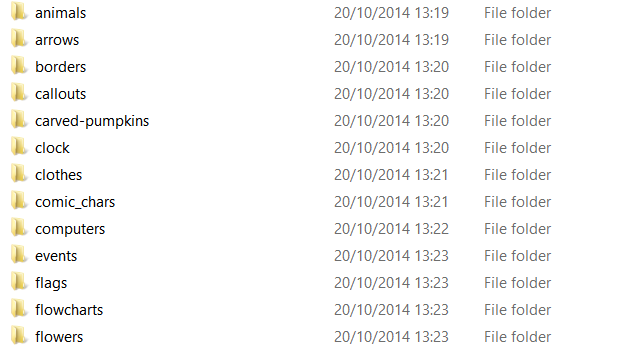
All clip-art is stored in the “clip_art” folder. You can create directories in this folder and upload your images there. They will appear in the clip-art section of the designer.
Adding fonts
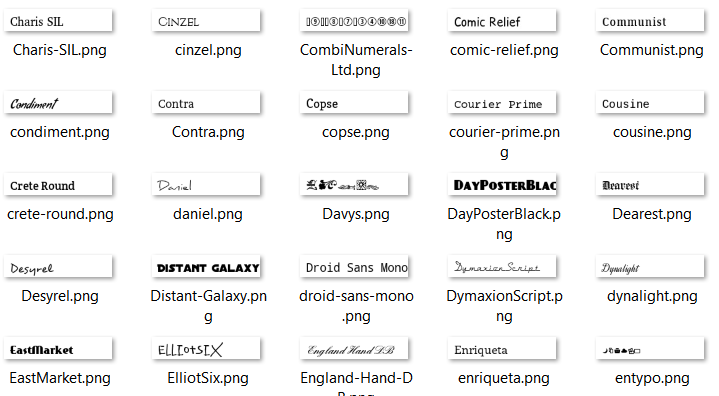
We use the “Font Squirrel” format for fonts. All fonts are stored in the “fonts” folder. If you want to add your own fonts, you’ll need to upload the following :
-
An image in the /png folder
-
A json file in the /json folder. It needs the following content:
{ "name": "1942 report", "url": "1942-report", "category": "Typewriter", "variants": ["Regular"], "regular": { "stylesheet": "fonts\/web\/1942-report_Regular\/stylesheet.css", "ttf": "fonts\/web\/1942-report_Regular\/1942-webfont.ttf", "fontface": "1942_report1942_report" }, "italic": false, "bold": false, "bolditalic": false } -
The webfonts must contain a directory "FontName" with woff, ttf, svg and eot files. This can be generated using Font Squirrel.
These fonts will appear in the font selection area of the text adding/editing sections.
For developers
If you’re a developer and want to integrate the designer into your own shopping cart or website here are a few things that might help you:
Note: We've purposely used yml for storing product data to make it easier for integration with existing systems. It contains simpler data models (less joins) and no mysql schema to stick to.-
Importing products
Products are all stored as yaml files. If you already have a database of products you can export your product and the details to a yaml file with the following structure:name: 'Baby Cap' slug: baby-cap description: 'Something' category: 'Baby Cap' price: '9.90' sizes: - 'One size' orientations: - { name: Front, width: 282.55860150973, height: 282.55860150973, printable_width: 109.9960269976, printable_height: 109.9960269976, printable_offset_x: 84.7676, printable_offset_y: 137.243 } - { name: Back, width: 282.55860150973, height: 282.55860150973, printable_width: 109.9960269976, printable_height: 109.9960269976, printable_offset_x: 88.8041, printable_offset_y: 137.243 } variants: - { name: white, price: '9.90', orientations: { Front: 817_1_1.png, Back: 817_2_1.png } } - { name: black, price: '9.90', orientations: { Front: 817_1_2.png, Back: 817_2_2.png } } - { name: 'grass green', price: '9.90', orientations: { Front: 817_1_88.png, Back: 817_2_88.png } } - { name: 'sky blue', price: '9.90', orientations: { Front: 817_1_63.png, Back: 817_2_63.png } } - { name: navy, price: '9.90', orientations: { Front: 817_1_399.png, Back: 817_2_399.png } } - { name: red, price: '9.90', orientations: { Front: 817_1_196.png, Back: 817_2_196.png } } - { name: pink, price: '9.90', orientations: { Front: 817_1_236.png, Back: 817_2_236.png } } defaultVariant: white
-
Linking to a product
If you need to link to a specific product you can use the product slug as follows.http://example.com/#product/@product-slug@
The designer will then load the desired product. -
Customizing the theme
The theme is coded in Bootstrap and LESS. To change colors/fonts you will need to edit variables.less.
If you want to change the layout and structure you must edit the HTML files in the /views/ folder.
It’s built with gulp. -
Adding different payment options
The BuyCheckoutController.js contains a method called submitForm. You can modify this method to submit your form to your own shopping cart or change to another payment method. -
Integrating it into your website
The simplest way is to use an iframe with the link to the designer. Alternatively, you can copy the links to the css, json from the index.html in the dist directory with the body. -
Integrating your own shopping cart
Once you’ve imported your own products to the yaml file and changed the submitForm function, you’ll almost be there.
There API calls to:
session.php that maintain a session. You may need to modify this to keep track of your user if they’re logged in.
upload.php it may be nice to associate uploads with user ids.
checkout.php stores the payment data
Sample data
If you'd like the sample data used in the live demo, you can download it from here - http://docs.expresspixel.com/data/print-pixel/extras/sample-data.zip
Support
For any enquiries, help, suggestions or feedback you can contact us on [email protected]. If you’d like custom development or theming we have a pricing section that you can refer to before contacting us.